Sunday, June 28, 2015

Water Play- Day 2

So as I said last week, The Bug would be content to splash in a water table every day so I try to do as much water play as I can while still adding elements. Enter SPONGES!

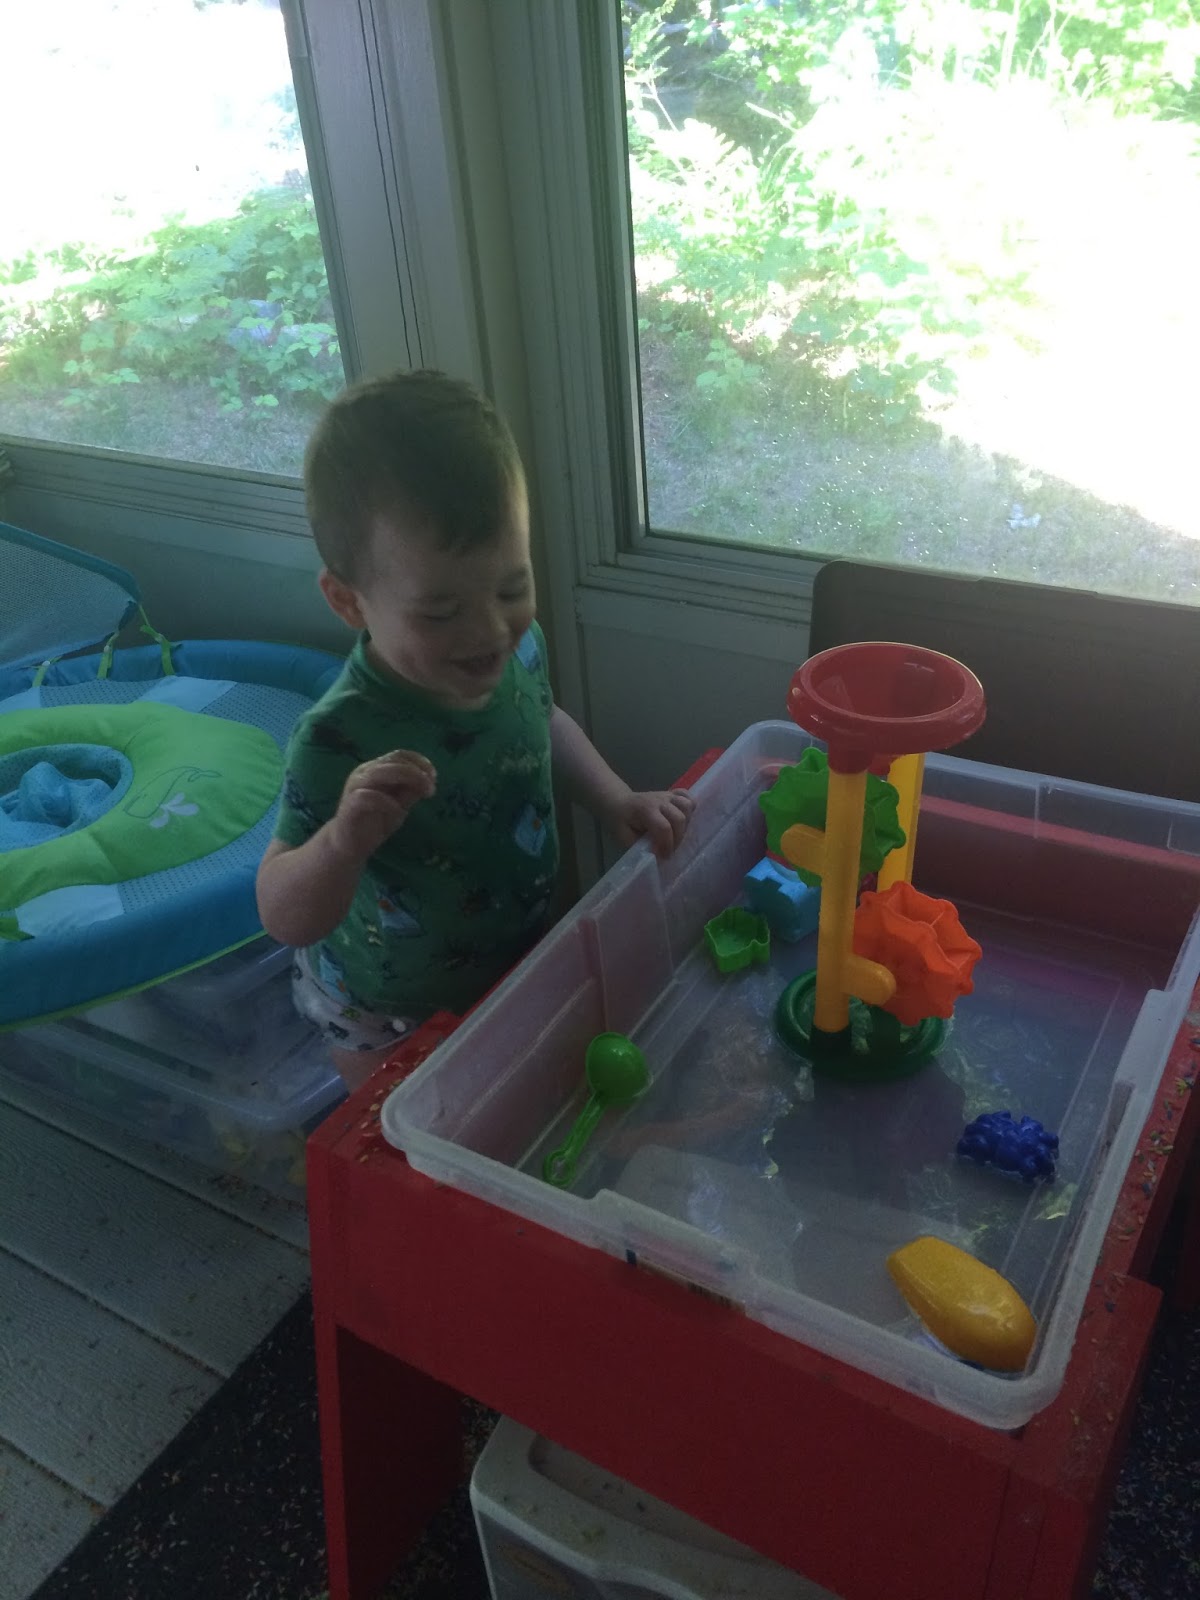
 We took out most of the toys but he added a few back and I had left the water wheel because I wanted to allow him to keep exploring how to make it turn.
I showed him ONCE how to fill the sponge up with water and squeeze it over the wheel and he was delighted!

He got way more water into the wheel funnel causing much more turning by using the sponge.

And then he squeezed the water all over the floor (this is why Daddy made us move the sensory table for the summer out to the porch)

The sponges were a HUGE hit and he played even longer at the water table then he had the day before! If you don't have a space you can allow full water craziness, have towels all around and under your kiddo or use a bathtub/shower! Sponges don't care!

Sunday, June 21, 2015

Water Play- Day 1

So if you didn't know, I have a fish. I call him the Bug but oh man does this kid LOVE water! I am constantly changing up our daily structure to keep him engaged and adding sensory play right after breakfast has been awesome- he gets soaked, I take off his PJ's and throw on his clothes! Win, win seeing as toddler transitions are challenging!
We recently bought some sand/water toys on Amazon (We got this one.) And while it's a semi weird set (The water wheel and 2 tools are bigger/normal size, then the bucket, 3 molds, and 2 tools are mini), it has been great for the Bug!

We focused on scooping, pouring, and splashing!

He occasionally got the water to make the water wheel turn but usually poured the water too soon. 

He seriously would be content to just always have water but I like to change it up occasionally!

With older kids, you could work on getting water to the wheel, or use different size containers to do some measuring. Seeing as the Bug was trying to drink the water, we keep things simple!

PS. Happy Father's Day!!!

Sunday, June 14, 2015

Farm Footprints


We've been exploring playdoh a lot with the Bug as he moves past the stage of putting everything in his mouth (but it's not over, just slowed...)

He has also been interested in animal sounds so we made some animal footprints in our playdoh and made the sounds of the animals.


He spent a lot longer than I expected on this activity. We squished up the doh and re-rolled it out for more stamping!

Sunday, June 7, 2015

A Book of Friends!

The Bug LOVES the "Brown Bear, Brown Bear, What do You See?" book and it's companions so we decided to make our own with pictures of the Bug and all of his friends!

I tried to blur the names and got some weird reaction but basically you have 

Child 1, Child 1, Who do you see? I see Child 2 looking at me. 

In one version, I did it

I see Child 1 looking at me. Child 1, Child 1, Who do you see? 

so that Child 1's name and picture were on the same page to make it easier when the Bug turned the pages insanely fast...

If you don't have the ability to do this on a computer, it's just as easy to do with pictures and construction paper! Have fun with it- include pets, cousins, and anyone your child will enjoy seeing!


Sunday, May 31, 2015

Sticky Counting Sheep!

The Bug is starting to speak more and more. There's still a lot of babbling sounds as if he's conversing but he has started to "count" thanks to our Stroller Strides classes (it's a workout class for mom with some activities/stroller time for the kids- check fit4mom.com for classes in your area!)
So I set up an activity for the Bug putting cotton balls onto a sticky sheep (made of contact paper with a rough mommy sketch)

I wasn't sure if he'd try to eat the cotton balls or not so I watched him pretty closely (if you don't know this, cotton balls are awful choking hazards since they are nearly impossible to Heimlich out...)

As he put them down, he would say "un, ooo, un ooo" and point to each one.

He peeled them right back off so it was also a wonderful fine motor activity!


Sunday, May 24, 2015

Eating Cleaner

So this is a bit out of the ordinary for me but I've been STRUGGLING with finding a balance of not forcing the Bug to eat but getting healthy foods into his mouth...

I joined Fit4Mom in my town last year when the Bug was about 8 weeks old thanks to an old friend who participated at the one near her house. I don't think I'll ever be "fit" enough to be an instructor but I have taken over the planning of playdates and Mom's Nights (because its so much more than just an exercise class) from the owner of the franchise I belong to and I keep finding MORE things I loves about the whole program!

For classes near you go to http://fit4mom.com!

Anyway, food. I know that processed junk is bad and whole foods are good. I get it but I can't make the best choices so the Bug doesn't always make the best choices. I'm working on this in multiple ways but one you can try at home is a snack box! I discovered it searching Pinterest and it's so cool!

You give your child breakfast. Then from after breakfast until dinner, they have one "snack box" with healthy options to choose from. Then they have dinner with you!

We haven't had much time to get going and try new things but I'm feeling positive!

Here are some of our favorite recipes to make at home that aren't quite as processed...

Granola!
http://www.chachingqueen.com/homemade-granola-recipe-yummy-money-saver/
Ingredients:
  • 5 cups rolled oats (not the instant kind)
  • 3 tablespoons brown sugar
  • 1/4 teaspoon coarse salt
  • 1/4 cup vegetable oil
  • 1/3 cup maple syrup
  • 1 1/2 teaspoons vanilla extract
Directions:
  • Pre-heat oven to 300 degrees.
  • In a large bowl stir oats, brown sugar, and salt.
  • In a small bowl mix the oil, maple syrup, and vanilla extract.
  • Pour the wet ingredients over the dry ingredients in the large bowl.  Mix well.  I use my hands for this.
  • Spread mixture on two baking sheets (lined with foil if you want).
  • Bake for 15 minutes and mix the granola.  Then, place back in the oven for another 10 minutes or so until the granola is just barely golden brown.
  • Remove the sheets from the oven and mix the granola again.
  • Place the granola in jars or airtight containers once it is completely cool.
I follow her recipe as it is written for the most part because it's not a high sugar recipe. I do replace the vegetable oil with melted coconut oil and you could always replace the brown sugar with stevia.

Graham Crackers!

INGREDIENTS
  • 2½ cups whole wheat flour or other baking flour
    • (the original recipe called for half all purpose but I used oat flour, almond flour, and whole wheat flour without a problem so feel free to play around!)
  • 1/4 cup dark brown sugar, packed 
    • (I cut this in half from the original recipe without issue)
  • pinch salt (we avoid more than a pinch army house)
  • 1 teaspoon cinnamon
  • 1 teaspoon baking soda
  • ½ cup butter, chilled & cubed
  • ¼ cup honey
  • ¼ cup water
  • 1 teaspoon vanilla
  • optional: 1 tablespoon wheat germ or flax seed (we added flax seed YUM)
INSTRUCTIONS
  1. Preheat oven to 350 degrees.
  2. In a food processor or mixer combine the first 6 ingredients. (If using wheat germ or flax seed add here.)
  3. Add cubed and chilled butter to the mix and pulse/mix until it resembles coarse meal.
  4. Add honey, water and vanilla and continue to mix until it all combines.
  5. Remove and shape the dough into a flat disk and place between two pieces of wax or parchment paper. (I found it easier to roll the dough w/o a sheet on top of the dough.)
  6. Roll dough out until ¼ inch thick. Cut into crackers or shapes. Combine the dough scraps and roll out again to cut more shapes.
  7. Place cookies on a Silpat or parchment lined baking sheet and bake for 13-15 minutes.
  8. Cool and serve.

Wednesday, May 20, 2015

Water Absorption

I saw this on Facebook and despite the Bug being too young to understand the whole concept, he LOVES watercolors so he had a blast painting on all of the different textures!

I took a walk around and found things that I thought would be interesting to paint. There's a paper towel, tissue, tissue paper, felt, coffee filter, cotton balls, card stock, printer paper, a plate, and thin wood strips. 

The Bug spent some time trying to disassemble the project but with a little direction, he enjoyed his watercolor time. He really likes dipping his brush in the water so I'm going to invest in some liquid watercolors soon!

I helped him try painting on the different "papers" but with an older child, you could discuss all sorts of things like how some papers suck in the water and the colors bleed or how other repel the paint and make beads of water! 

Trying to paint on different types of paper is a great way to let any age child experiment and grow as an artist! What is your child's favorite "paper" for painting? The Bug loves aluminum foil!!